Configuring an Automatic Process
This section describes how to configure an example automatic process introduced in Introducing Desktop Analytics. After setting up the process, you configure the tasks comprising that process, as described in Configuring Tasks.
Processes and tasks can be defined in Real-Time Designer using standard methods (described below), or using a recording approach.
Step 1 through Step 5 in the scenario described below assume that standard methods have been used.
To configure an automatic process for monitoring in Real-Time Designer:
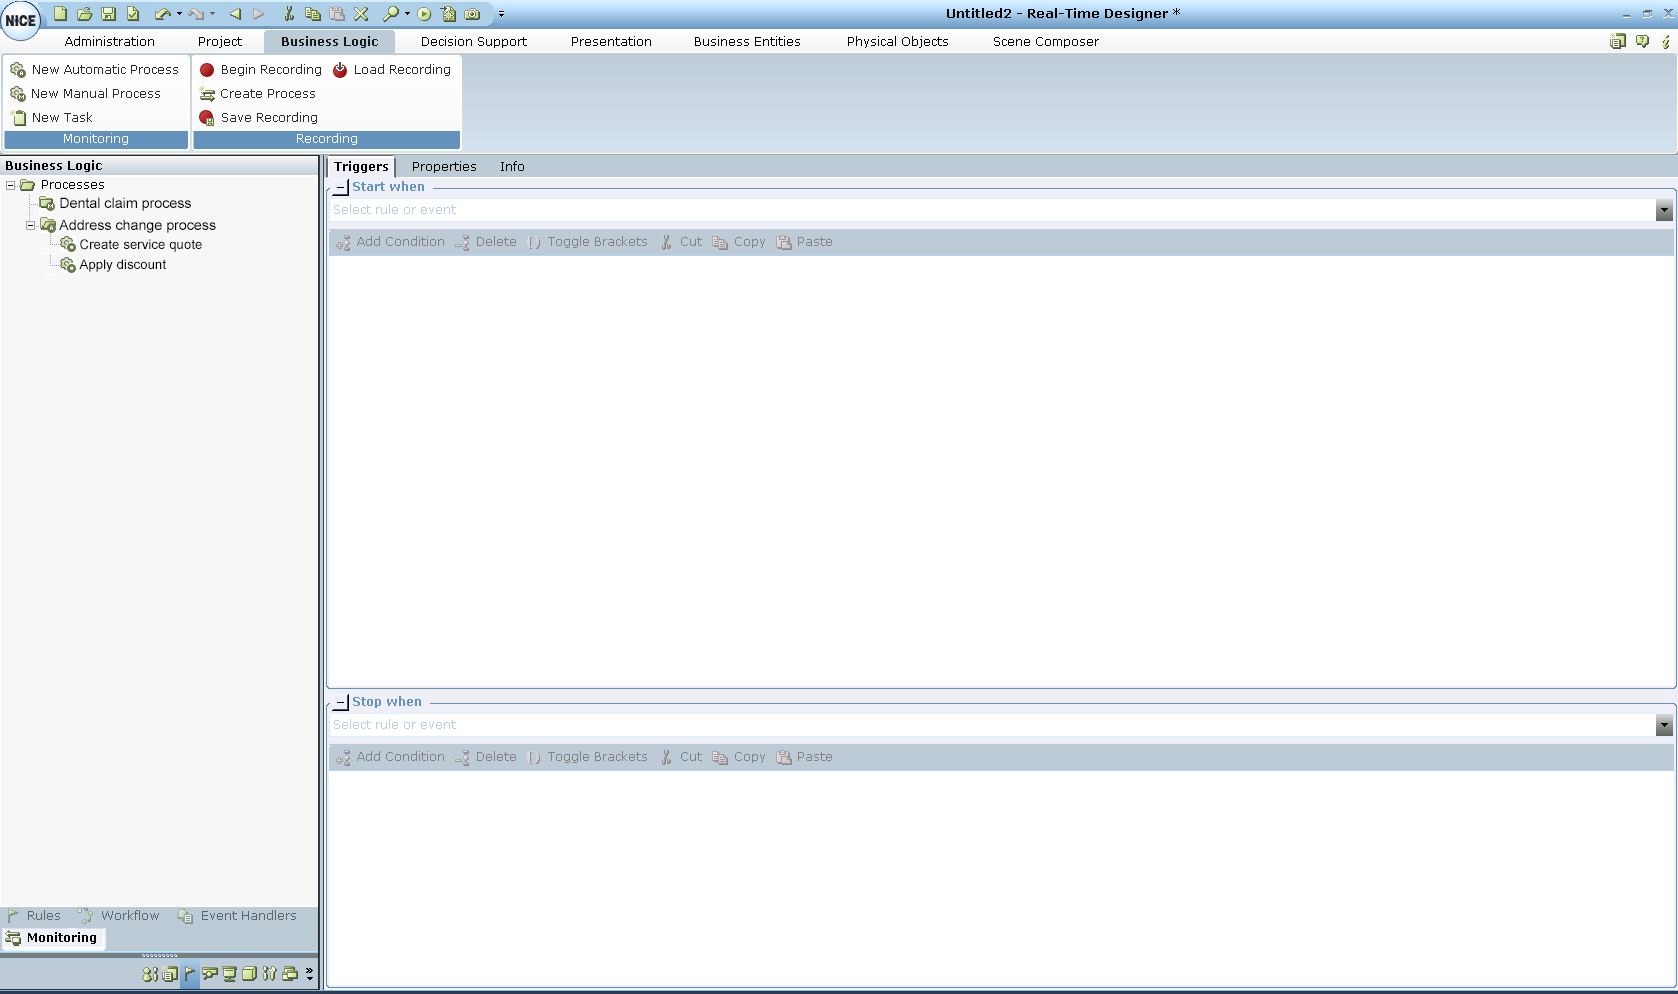
| 1. | Open the Business Logic window by clicking the Business Logic module tab. |
| 2. | In the Processes tree, select Automatic Processes and then click  or right-click Automatic Processes and select Add > New Automatic Process from the popup menu: or right-click Automatic Processes and select Add > New Automatic Process from the popup menu: |
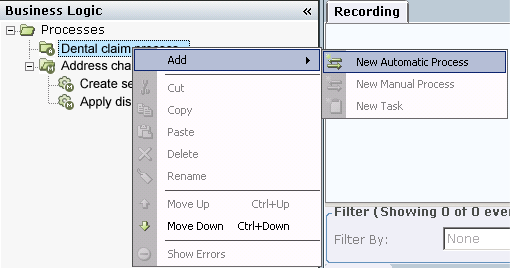
A new automatic process is added to the tree.
| 3. | Assign a recognizable name to the process. |
| 4. | Define the relevant Screen Elements to be used as triggers and the unique identifiers of the processes and tasks. |
It is assumed that this step has already been performed by an integration expert. For more details, see the Defining Screen Elements section in the Real-Time Designer User Guide.
| 5. | Create the Business Entities to store the values of these Screen Elements or represent their events and functions. |
It is assumed that this step has already been performed by an integration expert. For more details, see the Business Entities section in the Real-Time Designer User Guide.
| 6. | Define the triggers of the process: |
| a. | Click the down arrow in the Start when area to define its value. In our example, an event is used as the start trigger. |
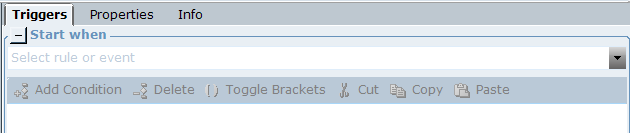
The following window is displayed:
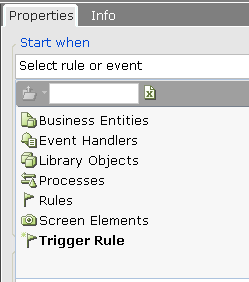
| b. | Select Screen Elements > Outlook > *Message* > Created in the drop-down list, as shown below: |
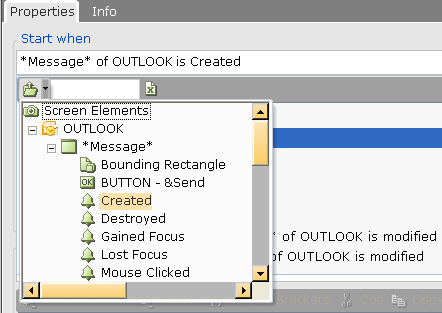
This selection means that as long as the original message window is active (not closed), then this process is active.
| c. | Define the Stop when value to indicate when the message window is closed. Select Screen Elements > Outlook > *Message* > Destroyed in the drop-down list, as shown below: |
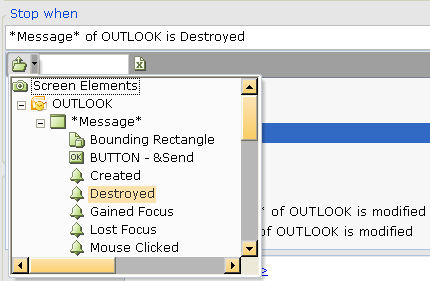
This selection means that as long as the original message window is destroyed (inactive), then this process is active.
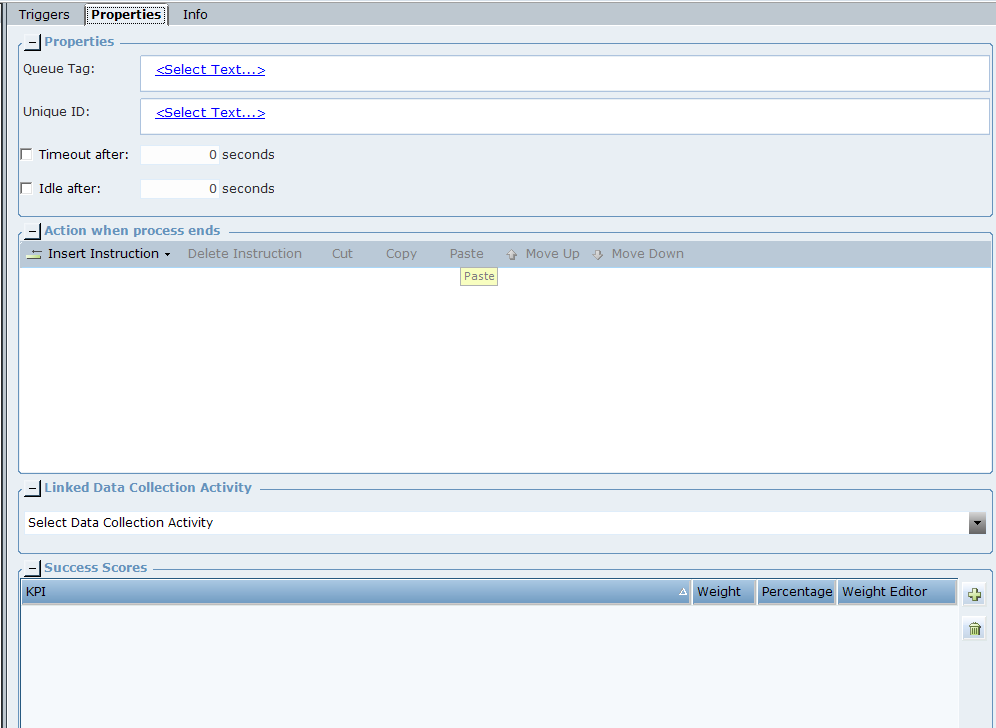
| 7. | Define the properties of the process: |
For automatic processes, a queue tag must have 64 or fewer characters and must not include spaces or tabs. This limitation is required when sending process information to Workforce Management (WFM).
If the process information is not being sent to WFM and you require more than 64 characters in the queue tag, use a text business entity in the queue tag instead of a static value. The business entity and its initial value can include more than 64 characters.
For our scenario, select Business Entities > Message orientation in the drop-down list.
The Message orientation value means that the email type can be determined directly from the email itself. In effect, this selection extracts the prefix of the email address in the To field of an email, up to the @ sign in the address. The extracted prefix is then used to tag (categorize) emails by type, so that email handling time for different email types can be counted separately.
Real-Time Designer's screen integration and connectivity technology can connect to multiple instances of a window or application at any given point in time. However, for the purpose of this exercise, we assume that only the active instance of an email message window is considered.
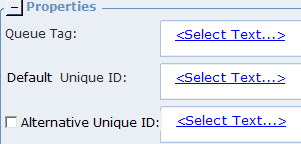
The Unique ID is limited to 250 characters. If it is longer than that, the value is truncated by the server.
If preferred, use the Alternative Unique ID property to temporarily store a business Unique ID while the process uses an operational Unique ID. At run time, the value you specify for this property is assigned to the Unique ID of the process when the process stops.
The Unique ID enables you to handle various types of circumstances described below. The uniqueness of the value is crucial for a process.
For our scenario, the email caption (subject) is used to determine the Unique ID. To do so, select Current Message Caption in the drop-down list.
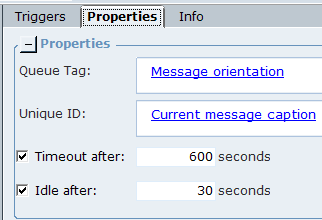
This selection means that the Unique ID is taken from the subject line (shown in the message window caption) of the email message window currently in focus, even when multiple email message windows are open simultaneously.
For example, let's say that you first open Email A that contains the subject AAA and then you open Email B, which contains the subject BBB. You now have two instances of the same process, where one is assigned to a message window with subject AAA and the other to a message window with the subject BBB. Real-Time Designer process monitoring can differentiate between these two process instances and can count for each of them accordingly. Therefore, when the user performs another action, such as clicking the Reply button in one of these emails, the reply action is automatically associated with the correct process instance, based on the value of the business entity property Current Message Caption at the time of the click event.
In the example described above, the Unique ID associates a process instance with a physical entity (in this case, a message window).
You can also use the Unique ID to associate handling time across multiple users or processes. For example, you could use a Claim ID as the Unique ID for this purpose.
The Unique ID enables you to handle both types of circumstances described above. It is important to specify the correct type of value in the desktop in order to ensure that it is in fact unique, such as Claim ID or [Claim ID + Day + Hour]. The uniqueness of the value is crucial for this purpose.
This field is optional and is useful if the standard stop trigger does not occur or is never reached.
If this option is not checked and there is no value assigned to it, the default Timeout value will be according to the Real-Time Designer Settings (3600 seconds). However, if you assign a value in the Automatic Process, it will override the timeout configured in the Settings.
| d. | Define the Idle after value by checking its checkbox and then assigning a numeric value in the adjacent box. This field enables you to specify an idle threshold, in seconds. Idle time is measured at the process level, and indicates when no mouse or keyboard action is detected for longer than the specified threshold. In this case, the value is 30 seconds. This field is optional and is useful when the idle threshold of the process should be different than the idle threshold of the desktop. For more details about the desktop idle threshold, see Desktop Process Monitor Settings. |
This selection means that if no action is detected on the desktop within the specified threshold, such as a mouse press or keyboard action, then the state of the process changes to Idle.
When a process becomes idle, it automatically pauses all of its active tasks. The process resumes when the next input event is received (keyboard or mouse).
A "Lock" state indicates that the user's desktop is locked.
| 8. | Define the Action when process ends using the action editor in the middle of the window. Use the action editor to define the instructions to be performed when the process ends. For example, to start a workflow once the process ends. |
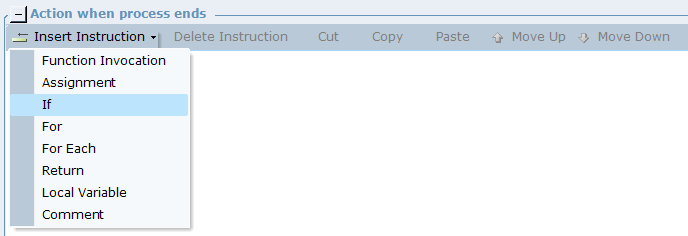
This action editor works in the same manner as other action editors available in Real-Time Designer.
| 9. | Specify the Linked Data Collection Activity value. |
When you select Data Collection in the process Properties, the Activate and Collect functions are triggered behind the scenes when the process’s stop trigger is triggered.

| 10. | Click the down arrow in the Linked Data Collection Activity field to define its value. Only one data collection activity can be selected. |

For details about how to define data collection, see Designer User Guide, Defining Data Collection section.
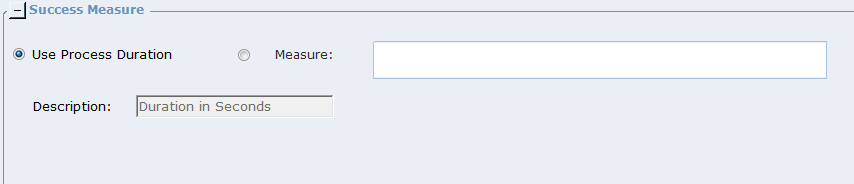
| 11. | In the Success Measure area, select Measure value and data source. |
The Success Measure area enables you to specify a measure value, thereby providing additional performance information for that process. The process Handling Time, in seconds, is the default measure value set. Alternatively any decimal business entity can be set.
| 12. | Select the Measureoption and then click in the Measure field. |
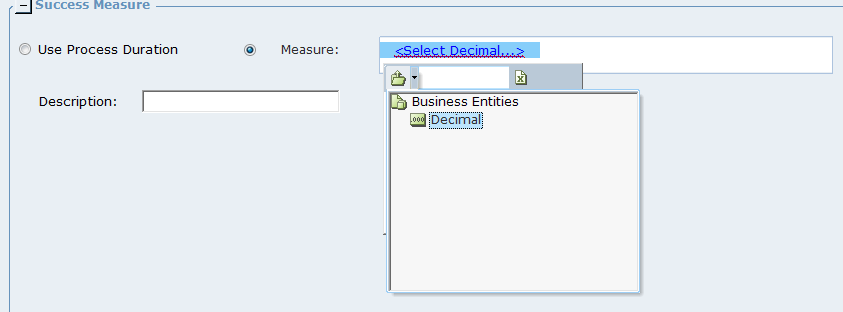
| 13. | Select any Decimal Business Entity as a data source for the Measure value. |
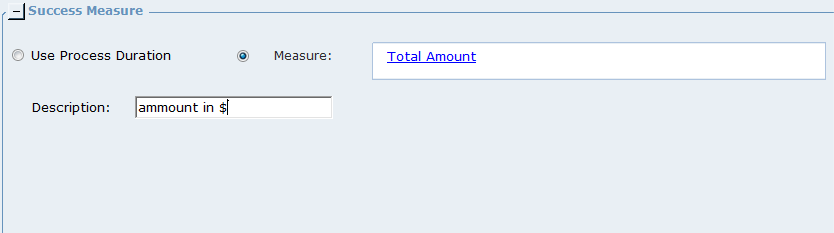
| 14. | Enter a short description for the Measure value. This will be the Measure Type shown in the reports. |
The sum of all Percentage values is always 100%.
| 15. | Repeat Step 11 through Step 14 for each measure. |
You are now ready to specify the tasks for the process and define their properties. To do this, proceed to Configuring Tasks.